Review the Guidelines
Before you get started, we recommend that you review our information about Choosing a Domain Name.
The Sign-Up Process
Once you’ve reviewed the guidelines, you can proceed to the sign-up page.
- Click the “Sign Up” Button

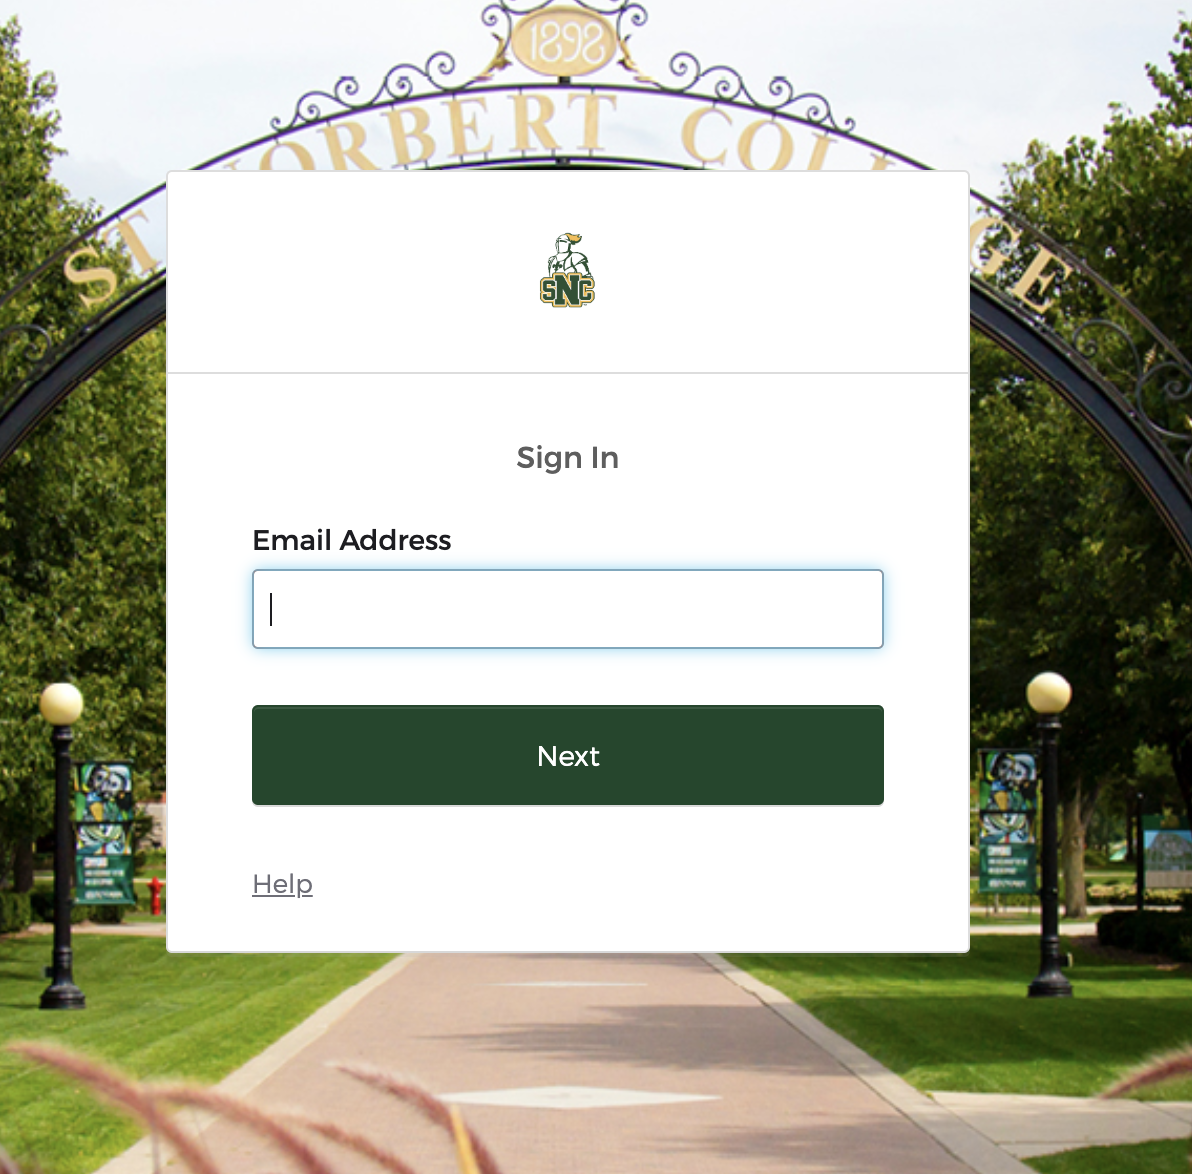
- You will be redirected to the Okta sign-in screen for verification. You will use your SNC email and password to log in.


- You are now ready to create a domain. You can either set up a free subdomain, or agree to a $12/year charge for your own domain. Select the option you want.

Option 1: Free Subdomain
For no cost, you can create a subdomain of knight.domains.
To create a free subdomain of knight.domains, leave this default option selected and enter the subdomain name you want for your website. When you’ve found an available subdomain, click the button labeled “Continue.”

Confirm that you like the name you selected. If you do, click the “signup” button. (If not, click the “start over” button, and repeat the above step.)
You should now see a screen confirming that your subdomain is ready. After a few seconds, you will see the regular Knight.Domains Dashboard options.

Option 2: Buy a top-level domain from Reclaim Hosting
It is easy to create your own top-level domain. This allows you to select a URL for your website that is easy to remember and share.
While you are at St. Norbert College, this is available for a nominal cost (currently $15/year). You can continue to use this domain after leaving SNC, although the cost may increase.
To create a top-level domain, selected “Register a new domain” and enter the name you want for your website. Click the button labeled “Continue.”

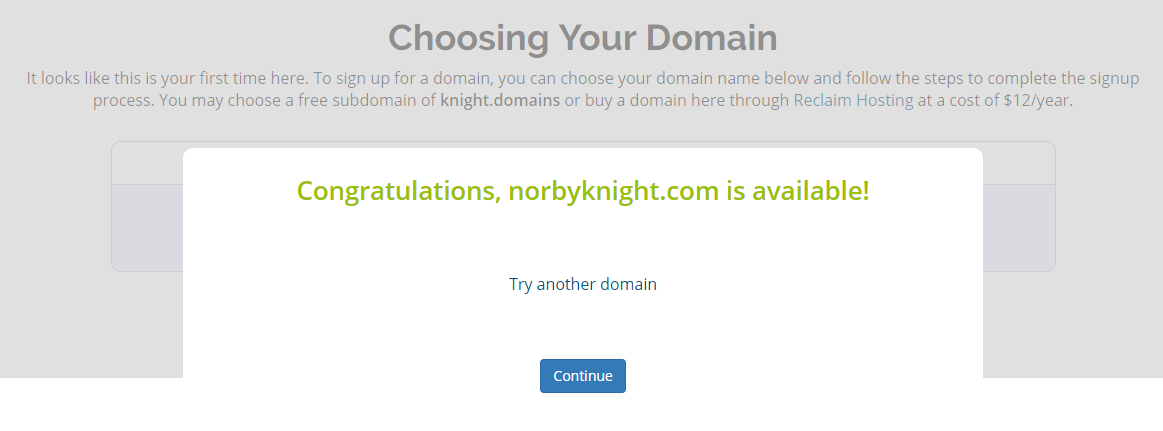
The system will make sure your selected name is available. When you see a message that the name is available, click the “Continue” button.
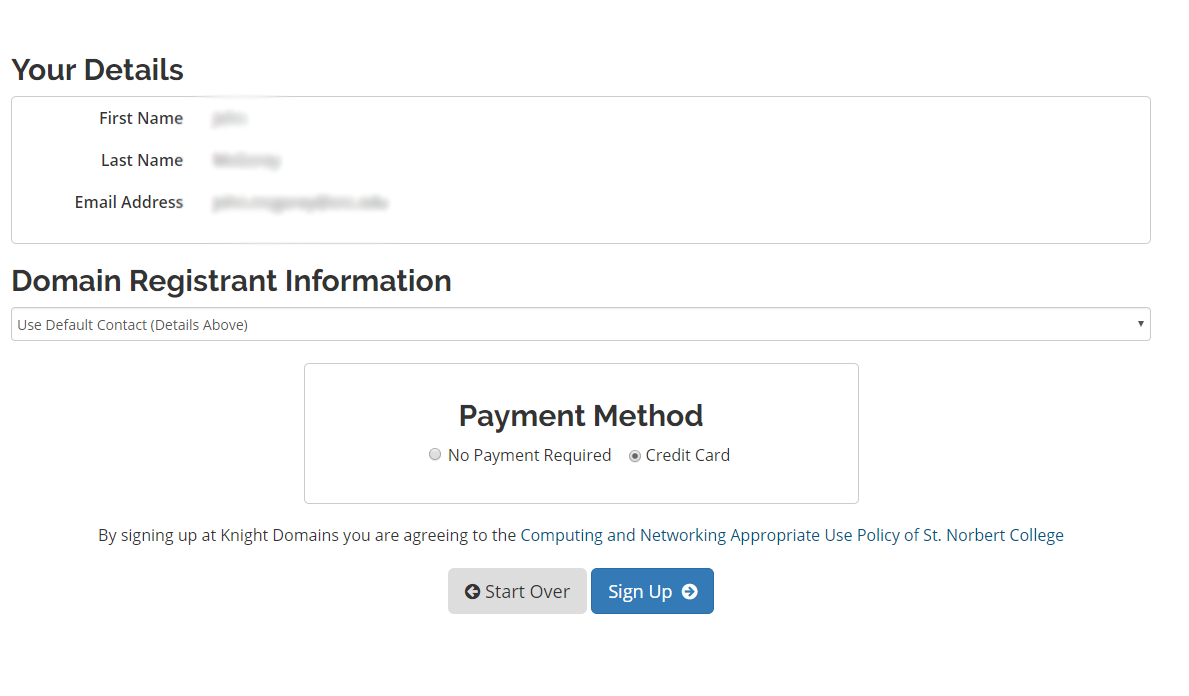
 You will now see the new name, along with an invoice. Fill out the form titled “Your Details” and click the “Sign Up” button–or click the “Start Over” button and return to the above step.


Continue as prompted.